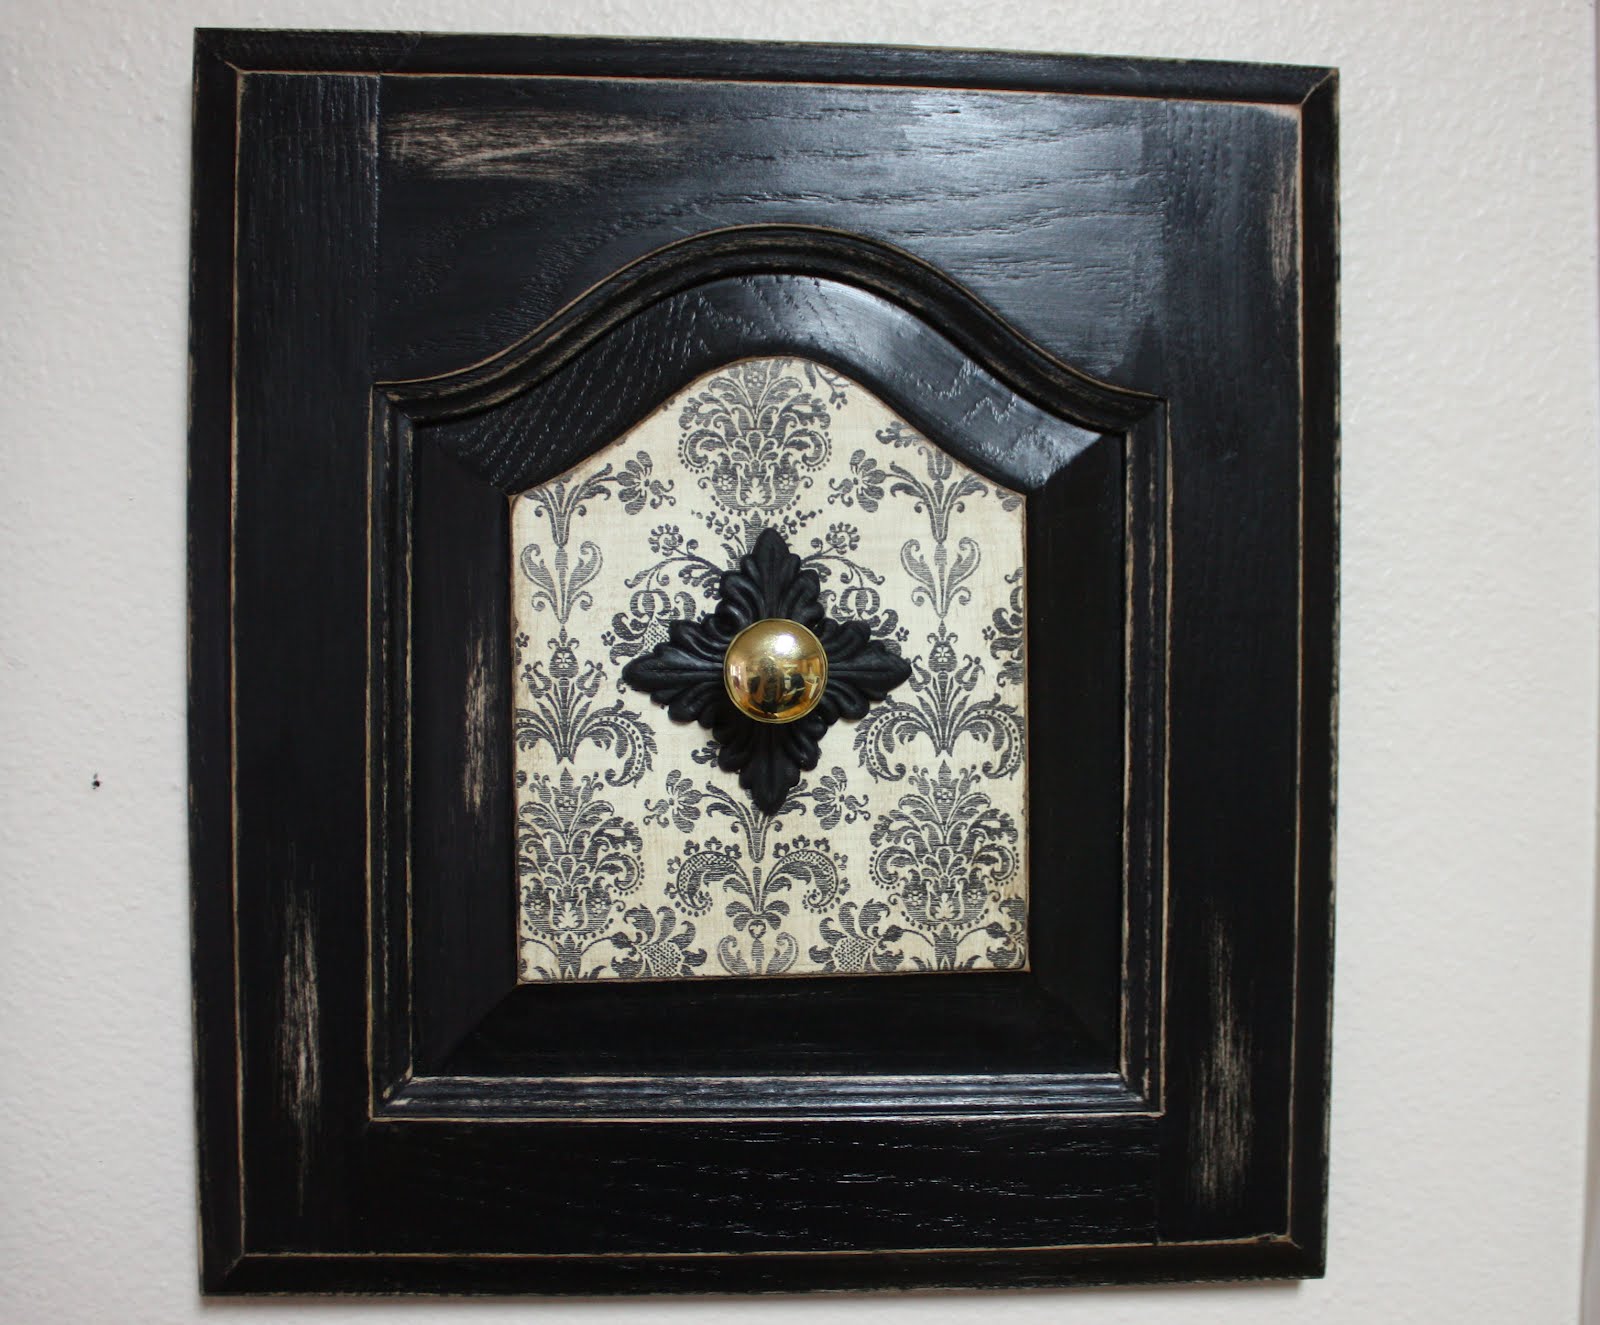
Hey everyone! I have decided to provide you with a step-by-step "how to" guide for making the antiqued wooden wall hangings that you have seen for sale on my blog. I have had a lot of fun experimenting with different colors, paper styles, etc. and I hope you guys will have fun too! For this step-by-step guide, I will be making a red wall hanging with 2 knobs.
1. Find an old cabinet door or similar piece of wood. I usually go to my local Habitat for Humanity ReStore (they sell them for $1 a piece). If you are wondering if there is a ReStore near you, just CLICK HERE.
2. Next, paint your cabinet door. I like to use spray paint, specifically Valspar satin finish paint. It goes on smoothly and dries quickly. It is also a lot faster than painting with a brush. At about $5 a can it is also reasonably priced and it can be found at most home improvement or craft stores.

 3. Next, you want to find a paper that goes well with the paint color you have chosen. I like to look for the more vintage prints and can usually find a great selection at my local Hobby Lobby.
 4. Once you have found a paper that you like, cut it to fit the middle section of the cabinet door.
 5. Next, you want to use Modge Podge to hold your paper in place. First, put the Modge Podge directly on the wood where the paper will go and then press down FIRMLY on the paper, smoothing it as much as you can while you press down. Make sure that the edges and corners are not flipping up. After you press it down firmly in all areas, the paper will start to bubble up a little bit. DON'T PANIC! The bubbles will go down as it dries. After laying the paper on top of your initial layer of Modge Podge, cover the entire top of the paper with Modge Podge as well. It will continue to bubble, but like I said, DON'T STRESS ABOUT IT! Most, if not all, the bubble will disappear as the Modge Podge dries if you have done a good job of pressing down firmly during the initial laying down of the paper and while painting on the top layer.

 6. After allowing the Modge Podge to dry for awhile, usually at least an hour or so, the next step is to sand the edges. I like to do this to give it a more antique look, but if you don't want the antique look, you can skip this step. However, it is still good to sand down the edges around the center piece with the paper to make sure that there is no paper hanging over the edge. In addition to sanding around the edges, I also like to sand a few random places around the edge to make it look even more antique.
 7. After sanding, the next step is to "antique" it. For this step I use Ralph Lauren Faux Technique glaze. You want to brush this glaze onto the cabinet door in sections. Once you have one section covered with glaze, you want to grab a small cloth/towel and wipe away the majority of the glaze, leaving just enough to give it the "antique" look. You want to wipe the glaze away fairly quickly as it will start to dry and get sticky pretty fast. This glaze will show up more prominently on lighter colors. I also like to "antique" the paper center of the cabinet door.


 8. You can use any variety or type of knobs that you want for your wall hanging. For this red one, I decided to take 2 simple wooden knobs and paint using the same red paint. I find most of my knobs at Lowe's. They have a great selection to fit any style.
 9. While the paint on my knobs dries, I finish off my cabinet door by brushing it with a protective finish. I use MINWAX WATER BASED POLYCRYLIC PROTECTIVE FINISH. This finish dries very fast so make sure that you brush it on smoothly. All you need is a thin layer so don't get too carried away, especially on the paper section.
 10. When it has dried, measure your center piece to see where you should drill the holes for the knobs that you want to put on it. I decide to place mine each 3" from the edge of the center section.
 11. Drill holes big enough for your knobs' screws to fit in and then attach your knobs to the cabinet door.

 12. The only thing left to do is attach a wall hanging piece to the back so that you can hang it on your wall!
I hope this tutorial was informative and that you are ready to try your hand at this fun project. If you decide that you don't quite have the inclination to make your own, please check out our pages at the top of this blog and see what hangings we currently have for sale!
If you want to stay up to date on our blog and store, please follow us on Facebook or Twitter.